
CSS Image Effects #6: Infrared Photography
Published on
This is the final post in a series which breaks down visual effects using CSS filters and blend modes. Read Part 1: The Vintage Washout Effect, Part 2: 3d Glasses, Part 3: Vignettes, Part 4: Bokeh Textures, and Part 5: Lomography for some background on blend modes and filters. Let’s end the series with something short and sweet that has a lot of impact for minimal lines of code: a faux infrared photo effect.
Infrared Photography
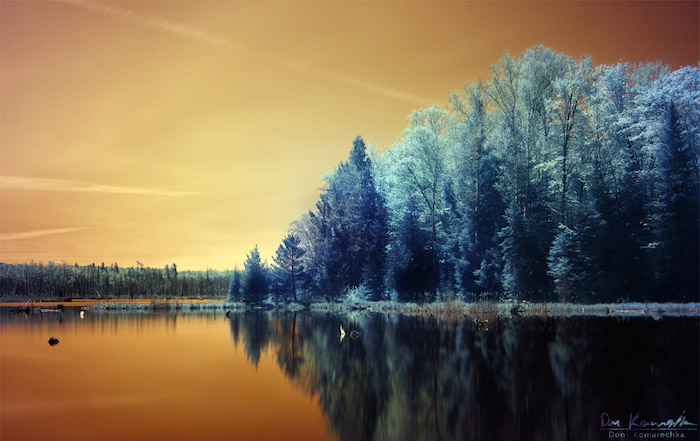
Infrared photography captures light in a spectrum beyond what is visible to the human eye (light which lies between the visible spectrum and radio waves 1). There is a special kind of film you can buy to capture this light and create some really stunning, surreal effects.

The key to the Infrared effect is actually a little photo hack, and we can fake it pretty easily in CSS. It basically comes down to 4 steps: Duplicate, Invert, Color Blend, and Play With Hue.
Step 1: Duplicate
The first step is to duplicate your base image. This can be done with multiple elements or with pseudo elements. Remember, you can’t use pseudo elements on the <img> tag so you’ll either need to line up two images, or use the <figure> tag in this. If you’re using two images, you should technically be placing those two elements within a <figure> anyway, so I’m just going to be using a sole <figure> for this example.
<!-- HTML -->
<figure class="creek--infra"></figure>
Step 2: Invert
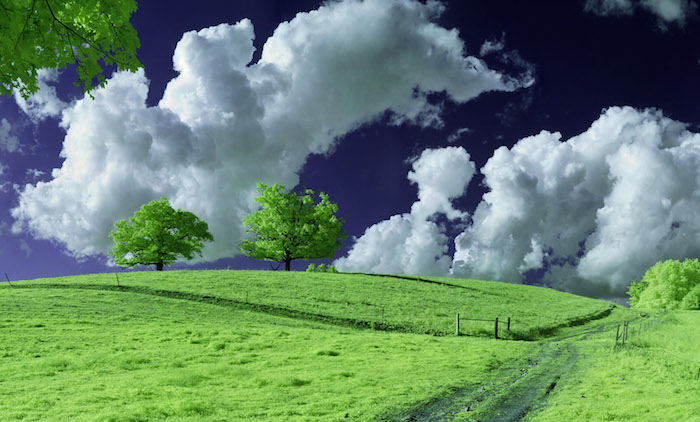
Now, we will use filter: invert on only the top layer, so it will look a little bit like this (this is a live effect, so you’ll only see it in a compatible browser):
original image
inverted image
Step 3: Color Blend
So now, making sure these two are layered on top of one another, we will use blend-mode: color on the top image (the one which is inverted). This is where the magic happens! We’re colorizing our image with the inverse of itself! How meta!
The HTML is: <figure class="creek--infra"></figure> and the CSS code looks like this:
.creek--infra {
  background-image: url('creek.jpg');
  height: 400px;
  background-size: cover;
  position: relative;
}

.creek--infra:after {
  content: '';
  position: absolute;
  top:0; left:0;
  width: 100%;
  background-image: url('creek.jpg');
  -webkit-filter: invert();
    filter: invert(1);
  height: 400px;
  background-size: cover;
  mix-blend-mode: color;
}
Play With Hue
Now, this is a little vivid, so we may want to decrease the saturation a bit by setting filter: saturate() to a value less than 1. At the same time, we can use filter: hue-rotate() to play with the color.
The only difference in the image this time is that I’m using filter: invert(1) saturate(.75) hue-rotate(60deg); instead of only filter: invert(1) on the top layer. Pretty cool, right?
Mixin Time!
To make our lives easier, I made a little mixin to recreate this effect! You just specify image url and degree of hue-rotation when calling the mixin.
The @mixin looks like this:
@mixin infrared($img, $deg: -60) {
  position: relative;
  background: url('#{$img}');
  background-size: cover;

  &:after {
    background:  url('#{$img}');
    filter: invert(1) saturate(.75) hue-rotate(#{$deg}deg);
    mix-blend-mode: color;
    background-size: cover;
  }
}
And the usage of this @mixin would be:
.creek-infra {
  @extend infrared('creek.jpg', 60);
}
Try out your own images and check out some more examples in this Codepen:
tl;dr: A faux infrared photo filter in CSS is just 4 steps: duplicate, invert, color-blend, and play with hue
That’s it for the series! I hope you enjoyed it! Please share this and check out my other posts for more CSS image manipulation fun :)
{% include css-effects.html %}