

Implementing "Save For Offline" with Service Workers
Published on
I just moved to New York City and started commuting to work on the subway. On said subway ride, despite its many glorious people watching moments, most commuters are just on their phones, reading articles or trying to browse the web. The subway is also famous for not having reliable cell service, so many of those people trying to read articles on their phone are struggling with cache and unexpected reloads if they click the wrong button. The offline web experience we’re providing users is something we all need to start thinking about. Luckily, we have the tools to do so.
I recently added an option to save blog posts for offline reading, and this post will detail how I did that so you can too.

This way, if someone is reading your blog on the subway, and loses their Internet connection, they won’t lose their place. If they accidentally click and the browser refreshes, they won’t lose their place. If they want to save your article to read on an airplane or at at a café in a foreign country where they have no internet plan, they can do that. And if they just want to save battery and be on airplane mode, that’s cool too. ✨Magic.✨
This modality is an idea called offline-first web design and we’re really just starting to scratch the surface of what that means. You can join the discussion around best practices and implications.
The Service Worker #
If you’re wondering what a service worker is, it’s like a little alien that lives on your page and relays messages for you. It can detect when you have an Internet connection and when you don’t, and can responds in different ways based on the response.
Support for service workers is still a bit patchy, but getting much better:
 While service worker support is still missing in Safari and Edge, they seem to be working on it. Also be aware that for service worker Cache, some versions of browsers support different versions of cache than others.
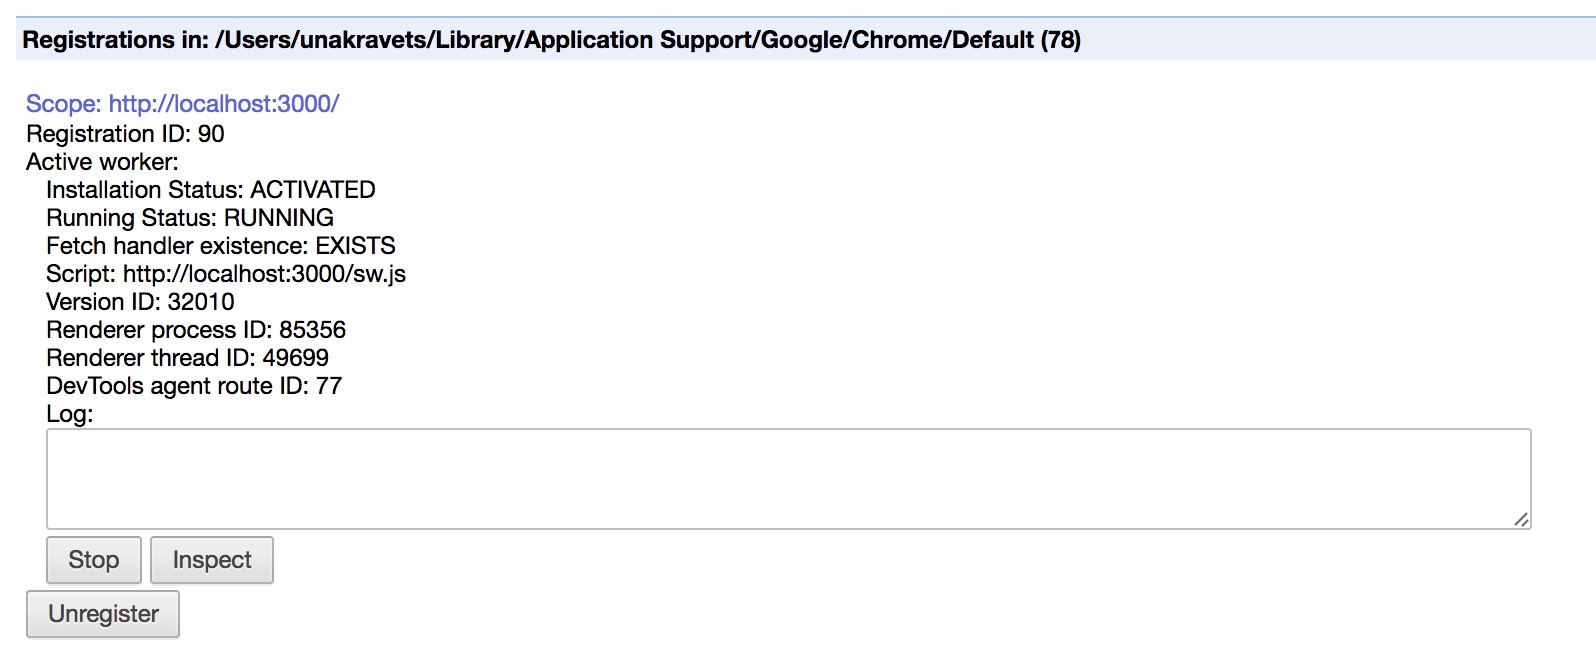
You likely already have a few service worker caches saved in your browser. To see them, navigate to to chrome://serviceworker-internals in Chrome, or about:debugging in Firefox. This is where you can see your list of service workers and work with them (no pun intended), such as if you need to unregister one while debugging. You’ll see something like:
Implementing Service Workers #
Before we can use service workers, we’ll need to implement HTTPS (a secure HTTP connection). The easiest way I know to do this is via Cloudflare. It’s quick to set up and works flawlessly with Github pages too (what I have my blog served on).
We’ll need to create a service worker file, called sw.js. This file should live in the root of your site/app. Then, in your application JavaScript (not the sw.js file, but where you keep your other scripts), you can write a little script to test for feature support and then register the service worker if its supported like so:
// This is application logic (i.e. scripts.js)

// Test if service workers are supported
if ('serviceWorker' in navigator) {
  // Attempt to register it
  navigator.serviceWorker.register('/sw.js').then(function() {
    // Success Message
    console.log('ServiceWorker succesfully registered');
  }).catch(function(err) {
    // Error Message
    console.log('ServiceWorker registration failed: ', err);
  });
}
Then, we’ll need to give our service worker a name (usually versioned to prevent problems with updated versions), install our service worker, add the items we want to cache, and activate our service worker. We’ll be doing this via self.addEventListener() passing in an install event, and an activate event. Next, we’ll want to use a fetch event to grab that data and serve it upon a downed connection.
The items to cache at this point should be something you don’t forsee changing often, such as base styles, scripts, fonts, logos, etc.
I also got a little tip online to use skipWaiting() along with Clients.claim() to speed things up (a formula called Immediate Claim). Check out this article for more information.
Just Show Me the Code Snippet, Una #
In the end, your sw.js code will look something like this:
// This is the service worker code that lives at the root (sw.js)

// You have to supply a name for your cache, this will
// allow us to remove an old one to avoid hitting disk
// space limits and displaying old resources
var cacheName = 'v1';

// Assets to cache
var assetsToCache = [
  '/css/main.min.css',
  '/js/scripts.js',
  '/images/unicorn.svg',
  '/fonts/icomoon.woff'
];

self.addEventListener('install', function(event) {
  // waitUntil() ensures that the Service Worker will not
  // install until the code inside has successfully occurred
  event.waitUntil(
    // Create cache with the name supplied above and
    // return a promise for it
    caches.open(cacheName).then(function(cache) {
        // Important to `return` the promise here to have `skipWaiting()`
        // fire after the cache has been updated.
        return cache.addAll(assetsToCache);
    }).then(function() {
      // `skipWaiting()` forces the waiting ServiceWorker to become the
      // active ServiceWorker, triggering the `onactivate` event.
      // Together with `Clients.claim()` this allows a worker to take effect
      // immediately in the client(s).
      return self.skipWaiting();
    })
  );
});

// Activate event
// Be sure to call self.clients.claim()
self.addEventListener('activate', function(event) {
	// `claim()` sets this worker as the active worker for all clients that
	// match the workers scope and triggers an `oncontrollerchange` event for
	// the clients.
	return self.clients.claim();
});

self.addEventListener('fetch', function(event) {
  // Ignore non-get request like when accessing the admin panel
  if (event.request.method !== 'GET') { return; }
  // Don't try to handle non-secure assets because fetch will fail
  if (/http:/.test(event.request.url)) { return; }

  // Here's where we cache all the things!
  event.respondWith(
    // Open the cache created when install
    caches.open(cacheName).then(function(cache) {
      // Go to the network to ask for that resource
      return fetch(event.request).then(function(networkResponse) {
        // Add a copy of the response to the cache (updating the old version)
        cache.put(event.request, networkResponse.clone());
        // Respond with it
        return networkResponse;
      }).catch(function() {
        // If there is no internet connection, try to match the request
        // to some of our cached resources
        return cache.match(event.request);
      })
    })
  );
});
Great, so now we have a service worker registered. Rejoice!
While service workers can do a variety of things like web-based push notifications and load balancing, we’re going to focus on its offline capabilities, specifically for caching files.
The above code snippet caches every HTTP request on the “fetch” call, but we don’t want to cache everything (see note above on what to cache), so how can we let the user decide what they want to cache or not?
Offline Switch #
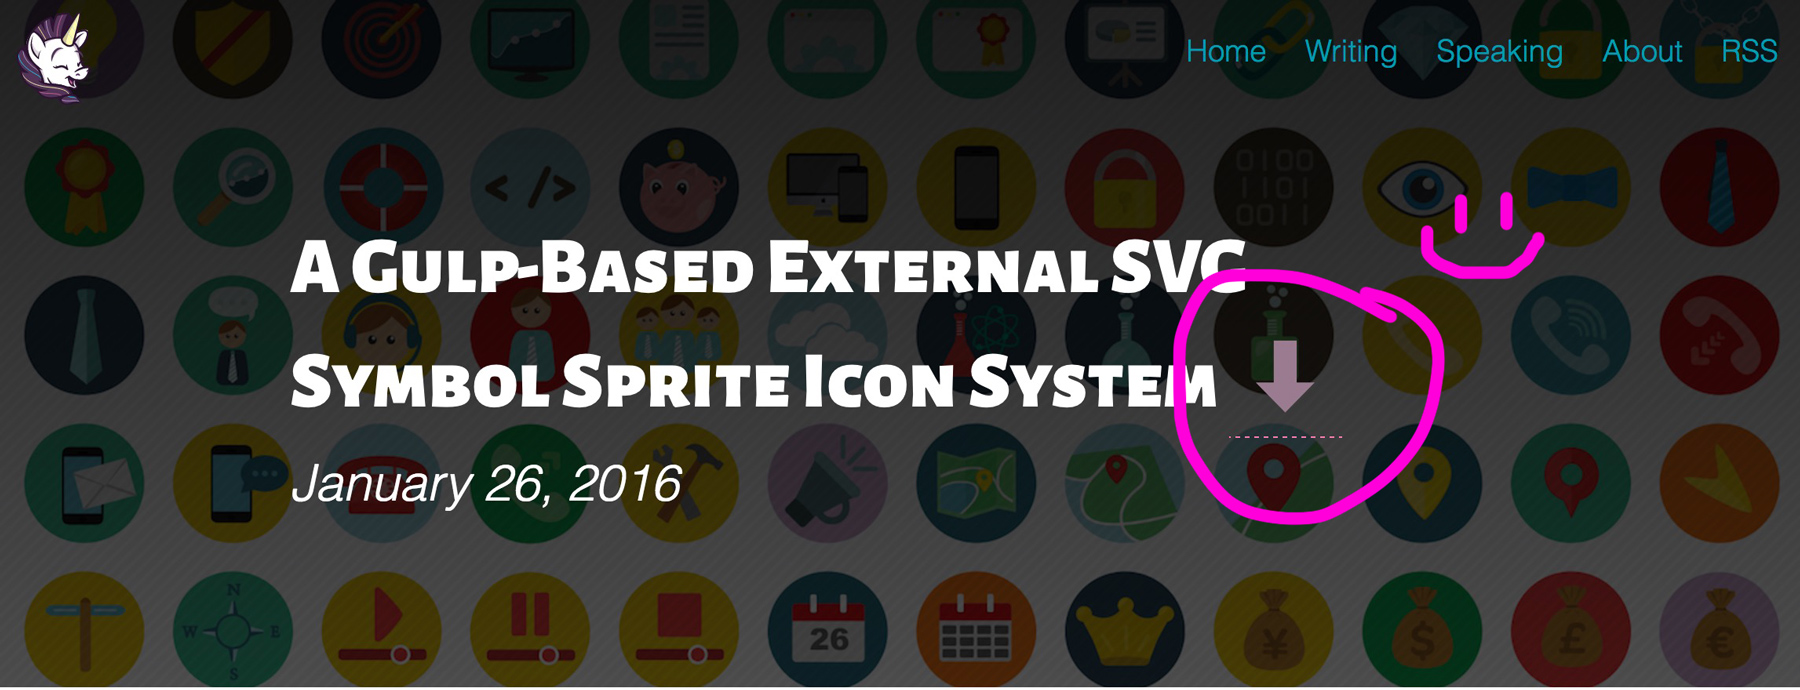
By giving our users the option to save a post for offline reading, we’re not taking up valuable space in their cache without permission. I wanted to give you all the option to save posts for web by clicking a download button next to the article title:
It’s important to note that despite the Service Worker being separate from your page, its cache is still accessible from within the page’s JavaScript. So let’s go back to our application logic and add some more code.
Essentially all we need to do is add an event listener to the trigger element (in this case it’s .offline-btn), populate the resources we want to cache, and then update the existing cache with those resources. In the example, I’m adding the http request text, inline images, and the audio file to the cache upon clicking .offline-btn:
All in all, it looks like:
// This is application logic (i.e. scripts.js)

if ('serviceWorker' in navigator) {
  // Attempt to register it
  navigator.serviceWorker.register('/sw.js').then(function() {
    // Success
    console.log('ServiceWorker registration successful');
  }).catch(function(err) {
    // Fail
    console.log('ServiceWorker registration failed: ', err);
  });

  // Set variables for use in the event listener
  var currentPath = window.location.pathname;
  var cacheButton = document.querySelector('.offline-btn');
  var imageArray = document.querySelectorAll('img');

  var audioTrack = function() {
    if(document.querySelector('audio') !== null) {
      return (document.querySelector('audio source').src);
    } else {
      return;
    }
  };

  // Event listener
  if(cacheButton) {
    cacheButton.addEventListener('click', function(event) {
     event.preventDefault();
     // Build an array of the page-specific resources.
     var pageResources = [currentPath, audioTrack()];

     // Add images to the array
     for (i = 0; i < imageArray.length; i++) {
       pageResources.push(imageArray[i].src);
     }

      // Open the unique cache for this URL
      caches.open('offline-' + currentPath).then(function(cache) {
        var updateCache = cache.addAll(pageResources);

        // Update UI to indicate success
        // Or catch any errors if it doesn't succeed
        updateCache.then(function() {
          console.log('Article is now available offline.');
        }).catch(function (error) {
          console.log('Article could not be saved offline.');
        });
      });
    });
  }
}
We will also need to edit the sw.js file to remove the fetch event from every HTTP request. We still want to download the initial page (home page) so that our users can navigate, but don’t want to save any additional/unnecessary items. We want to update our fetch event like so:
self.addEventListener('fetch', function(event) {
  // Get current path
  var requestUrl = new URL(event.request.url);

  // Save all resources on origin path only
  if (requestUrl.origin === location.origin) {
    if (requestUrl.pathname === '/') {
      event.respondWith(
        // Open the cache created when install
        caches.open(cacheName).then(function(cache) {
          // Go to the network to ask for that resource
          return fetch(event.request).then(function(networkResponse) {
            // Add a copy of the response to the cache
            cache.put(event.request, networkResponse.clone());
            // Respond with it
            return networkResponse;
          }).catch(function() {
            // If no internet connection, try to match request
            // to some of our cached resources
            return cache.match(event.request);
          })
        })
      );
    }
  }
Testing in Production #
We’re almost there. Everything is in place, we have our service worker instantiated and we have a trigger element that’s adding additional resources to our cache.
Chrome has some great service worker tools for debugging errors we get in the process, but the last thing to do is to test and make sure that this works. I like to use Ngrok, which I’ve written about before. After setup, in your terminal, you’d use ngrok http <port-name>, and it will create a tunnel for you to access your site through. Use the https link, and test it out.
Click around, then turn off wifi. The page resources you access or save should now be available to you. Congrats! You’re building a better offline web experience and improving site performance! Give yourself a pat on the back.
Further Resources #
- Service Worker Cache Script
- Jake Archibald’s Offline Cookbook
- Mozilla Service Worker Cookbook
- CSS TricksService Worker for Offline
- Chris Ruppel’s Post on Service Worker
Shoutout to Jake Archibald, Nolan Lawson, and Mariko Kosamari for answering my weird service worker questions.